
High-difficulty missions in Helldivers 2 don’t really test aim first. They test discipline. On lower settings, a messy team can brute-force fights, burn extra lives, and still somehow drag itself to extraction. Move into harder operations, though, and that same squad gets crushed by armored targets, chain reinforcements, bad stratagem throws, or one small mistake that turns into a full wipe.
That’s why advanced co-op combat tactics matter. Helldivers 2 runs on shared pressure, shared tools, and shared mistakes. The game still has a huge audience. Recent tracking shows 56,379 current Steam players, an all-time peak of 458,046, a 77/100 Steam Player Score and 1,115,770 reviews. Sony also reported 22.9 million lifetime players across PS5, Xbox Series, and PC. So yes, the player base is deep and active, and the squads clearing the toughest missions aren’t just better shots. They play better together.
This guide takes a different angle from a broader squad primer. It skips the basic teamwork points and goes straight to surviving high-difficulty operations: role locking, spacing, target priority, reinforcement discipline, extraction planning, and live-meta adaptation. Short version: it covers what keeps top squads alive once the map starts feeling unfair. Anyone who wants a more general squad overview first can check out Helldivers 2: Co-Op Tactics for Victory in 2026.
Why High-Difficulty Helldivers 2 Rewards Interdependence
The biggest mental shift is simple: stop trying to be the hero in every fight. At high difficulty in Helldivers 2, ego play gets punished fast. Players who peel off to solo a nest, hog resupplies, or stack four selfish stratagems might look active, sure, but they leave the whole squad weaker. Good teams know better. They create overlap on purpose.
But our core design philosophy, when it comes to cooperative shooters, is that we want players to want to play with other players.
That quote explains the game better than any tier list. The systems raise your power when the squad moves and fights as one unit. Assisted reloads, overlapping fields of fire, revive timing, and objective cover all become more valuable with teamwork. Small stuff, big payoff.
Helldivers 2 is still a strong fit for advanced tactical content, and the current meta rewards attention to small details instead of broad loadout choices alone.
| Metric | Value | When |
|---|---|---|
| Current Steam concurrent players | 56,379 | 2026 |
| All-time peak Steam concurrents | 458,046 | Feb 25, 2024 |
| Steam Player Score | 77/100 | 2026 |
| Steam reviews counted | 1,115,770 | 2026 |
| Lifetime players across platforms | 22.9 million | Aug 9, 2026 |
Those numbers matter because a large, active audience creates a real tactical ladder. The average squad plays better now than it did near launch. Enemy pressure feels harsher too. Players expect more from every teammate, and the 2026 roadmap updates added more moving parts, more enemy variety, and more reasons to plan around squad roles instead of just bringing favorite toys.
A simple way to think about a team is this: each player should answer one major problem and one backup problem. Maybe one player covers anti-armor first and panic clear second. Another might take objective runner first and support cover second. If everyone answers the same problem, the team can look strong right up until a different threat shows up. That’s often when the run starts to break.
Build Your Squad Around Roles, Not Just Favorite Loadouts
For high-difficulty runs, a strong squad needs four jobs covered: horde clear, heavy kill, support sustain, and objective utility. Some roles can overlap, but the squad should never leave any of them uncovered.
The anchor support
This player keeps chaos in check, carrying ammo, defensive tools, and a weapon set that helps the team hold ground when things get messy. Quiet work. Their role helps the squad stay in the fight long enough to finish it.
The heavy killer
This player takes down armored threats and stops elite units from overrunning the team. Timing matters. They need to know when to use big damage and when to hold it for the next wave.
The objective runner
A calm player keeps moving, reads the battlefield, and uses terminals or carries mission items without panicking. On high difficulty, handling objectives matters nearly as much as raw damage.
The flex cleaner
This player fills gaps. They manage crowd control, watch flanks, revive safely, and adjust fast when the plan falls apart.
Teams that skip this role split usually hit one of two problems. Some lean too hard into damage and run out of sustain, while others stack too much defense and can’t finish fights before reinforcements pile up. Random groups hit both issues all the time.
For players who like comparing combat systems across games, there’s a helpful lesson in Arc Raiders Survival Loadout Paths, Balancing Combat Gear & Resource Gathering in Cloud Gaming Environments: loadouts work best when they match route, pace, and team need, not just raw preference. The same idea fits here.
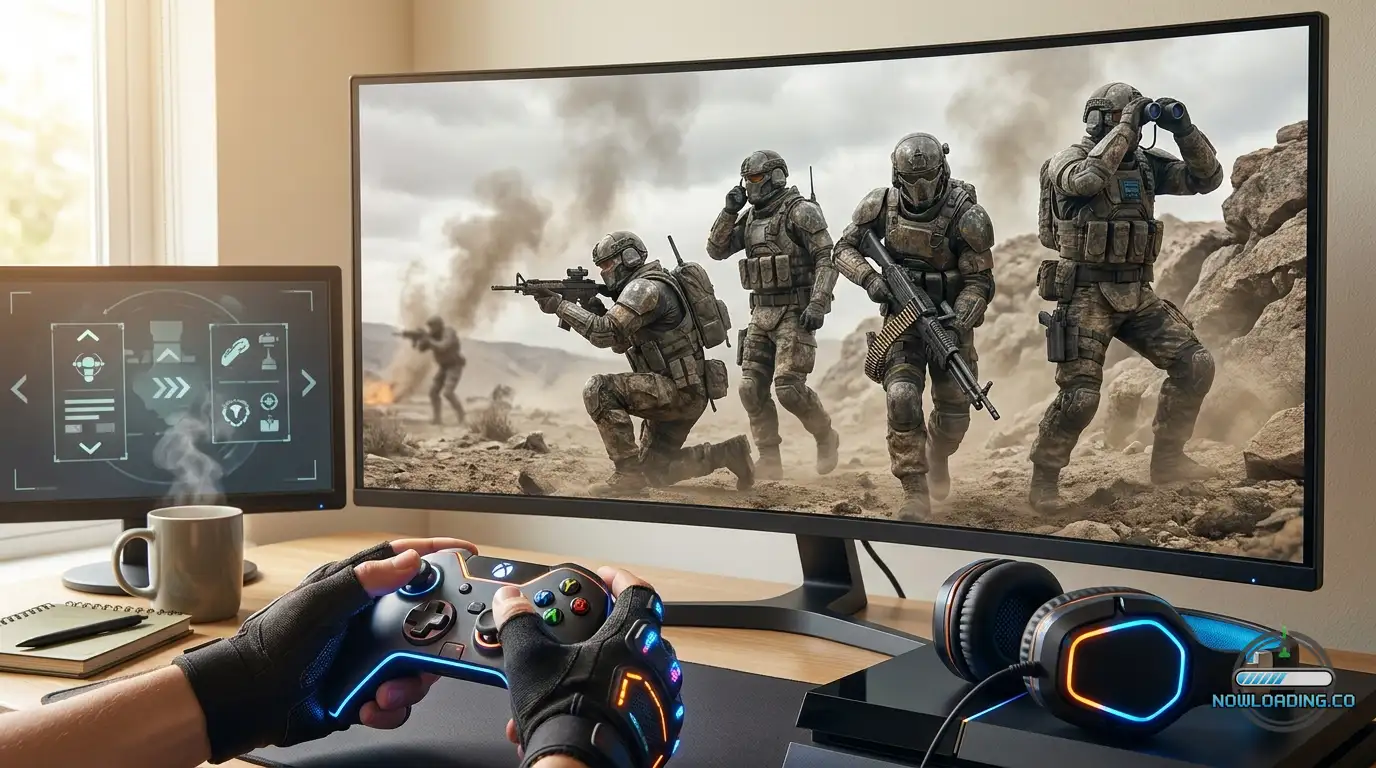
A good pre-drop talk can be very short. Players can say who handles heavies, who carries sustain, who runs objectives, and who calls emergency clears. Ten seconds, really. That can save ten reinforcements later.
Spacing, Lines of Fire, and Movement Discipline Win More Fights Than Raw DPS
A lot of wipes happen before anyone really starts shooting. The team drops in, bunches up, faces the same direction, then gets pinched from two sides before the fight even settles. In Helldivers 2, especially on higher difficulty, smart spacing matters more than many squads expect.
One simple rule helps: close enough to help, far enough to live. When all four players stand in one tight cluster, a single explosive hit, a bad stratagem bounce, or one charging enemy can wreck the whole group. Spread too far, though, and nobody gets revived in time. The objective starts slipping away.
In most cases, the best setup is a loose diamond or a staggered line. One player watches the front. Another covers the left. Someone else takes the right. The last player checks the rear or stays on the objective device. That shape gives the squad cleaner sightlines and lowers the chance of friendly-fire mistakes.
Movement discipline matters too. Some fights aren’t worth taking. On high difficulty, the map can cause more trouble than the enemies. Patrols can trigger more patrols, noise brings more pressure, and long fights burn ammo while messing up stratagem timing. Good teams know when to break contact, use the terrain, and reset before things spiral.
A good fight usually has a few clear parts:
- A fast first kill to stop enemies from taking space.
- Clear lane control so every player knows where they shouldn’t cross.
- An early disengage decision before the area becomes impossible to recover.
Terrain should work like a filter. Choke points, ridges, rocks, and narrow approaches make your fire stronger because they cut down the angles enemies can use against you. Just don’t box your own team into a dead end. That mistake happens easily. A strong defense position always leaves a way out, and that exit matters the moment pressure starts rising.
That gets even more important as newer updates add more enemy variety and change mission flow. More threats give squads more reasons to move with purpose instead of reacting a second too late.
If you stream the game, clean spacing also makes the action easier for viewers to follow. They can see who is anchoring, who is rotating, and why the fight was won, instead of watching four players spin in smoke and chaos.
Stratagem Economy: Stop Throwing Power Tools Like Panic Buttons
High-difficulty squads don’t just use strong stratagems. They use them in the right order. Huge difference.
Teams make the same mistake all the time and dump too much power into one moment at once, because someone sees pressure and instantly throws an airstrike without checking what the rest of the squad is already covering. Then a second player drops another big explosive on the same zone. Bad timing. A third calls a turret into a lane the team already has covered. They win that fight, sure, then have nothing left for the next minute, right when the real threat shows up.
Layer your stratagems.
Layer 1: Tempo tools
Use these low-cost options to keep fights steady, hold ground, clear medium threats, or just buy time. They help.
Layer 2: Crisis tools
These answer a bad swing, too many elites, a broken flank, or a teammate down in a terrible spot. Use them when the fight starts going bad fast.
Layer 3: Objective tools
Save these tools for moments that absolutely need to work, like holding extraction, stripping armor during a terminal sequence, or keeping a route open through a nest area. Don’t waste throws.
A before-and-after mindset helps here. Weak teams ask, “What can I throw right now?” Better teams ask, “What do we need ready 20 seconds from now?” That small shift leads to cleaner clears and can stop wipe spirals before they start.
From Johan Pilestedt’s broader interview coverage, the game is built to make teamwork feel necessary, not optional. You can see that in stratagem design pretty clearly, because many of the strongest tools get much better when one player creates space and another times the damage.
That also explains why assisted reload improvements and input fixes matter. Small quality-of-life changes raise the ceiling on coordinated weapons, especially since they remove friction right when things are going bad, at the worst possible time.
If your squad doesn’t have good timing discipline, assign one person as the fight caller. That player doesn’t need to direct every move. They just need to say things like “save orbitals,” “use sustain only,” or “burn one heavy tool now.” Short calls. One clear voice is enough to turn random panic into something structured.
Reinforcement Discipline and Recovery Play After Things Go Wrong
Elite teams still make mistakes. They recover fast.
Many failed recoveries begin with emotional play. Someone dies, and the closest player instantly throws a reinforcement beacon into the hottest part of the fight, so the respawned diver lands in chaos, dies again, and the team burns two lives instead of one.
Use reinforcement as a reset tool, not a panic button. Check a few things first:
- Can the new player land safely?
- Can they recover gear or help right away?
- Will the squad still hold its shape after the throw?
If the answer is no, reposition first. That can feel slow, but it’s still usually faster than feeding lives and then trying to recover from another bad drop.
Recovery also depends on gear priority. After a wipe or near-wipe, players may sprint straight back to their dropped equipment and die in the exact same spot. Clear space first. Rebuild formation second. Recover gear third. Support weapons matter, sure, but team stability matters more when the fight is already slipping.
A useful comparison comes from melee-heavy games. In Kingdom Come Deliverance 2 Combat Mastery: Weapon Classes, Armor Types & Realistic Fighting Tactics, survival comes from reading pressure before committing. Helldivers 2 works differently, but that lesson still applies. Running back into a losing angle usually is not bravery. It’s repeat damage.
Revives work the same way. Don’t chase every body the moment it drops. Secure the lane first. Use smoke or suppression if needed, then revive. A delayed safe revive beats a fast double-down every time, especially if the area is still unstable.
Advanced squads also think about who can least afford to die. If one player is carrying the main anti-armor tool or key mission utility, the team should give that player slightly safer positioning. That’s smart resource protection, and it changes how a team survives bad fights.
Objective Tempo Is the Hidden Skill That Makes Hard Missions Feel Easier
A lot of players think success on high difficulty comes down to winning fights. Really, it comes from finishing objectives before the map starts working against the team.
Every extra minute on the field raises the odds of a bad patrol chain, ammo strain, cooldown mismatch, and extraction stress, so the team needs to move with purpose from one task to the next. Don’t wander.
Objective tempo has a few parts.
Pre-clear only what matters
Don’t clear every area just out of habit. Take out the enemies that can actually stop the objective, not every target on the screen.
Assign hands before the interaction starts
If a terminal is coming up, have one player interact, two hold lanes, and one watch for flankers or heavies. Otherwise, when everyone decides in the moment, somebody always stops shooting, right at the worst time.
Leave clean, not late
As soon as the objective’s done, move on. Hanging around to mop up can start a fresh wave. Pointless.
That matters even more now. Roadmap updates add new mission content, Illuminate threats, new biomes, and campaign-driven play, so teams that switch from defense mode to movement mode fast will have the edge.
Players who follow broad gaming trends through Now Loading should watch for this in live-service shooters: the strongest squads aren’t always the most aggressive. Just the most efficient.
Adapt to the Live Meta Instead of Chasing One ‘Best’ Build
Static advice gets outdated fast in Helldivers 2. Weapon balance shifts, enemy behavior changes, quality-of-life updates roll in, and new content can reshape what a squad actually needs on the ground.
That doesn’t mean every patch turns the whole game upside down. Core habits should stay steady. The exact tools, though, should stay flexible.
Keep these constants:
- Cover all team roles.
- Bring one answer for armor.
- Bring one answer for panic swarms.
- Plan your objective utility.
- Protect your reinforcement economy.
Then adjust the details. If assisted reload starts feeling smoother, a team might lean harder into coordinated heavy weapons. When new enemy types start pouring through wide lanes, the crowd-control player may need to swap tools. In a biome with worse sight lines, static defenses can lose value fast, and mobile clears can matter more.
The same kind of adaptation works for creators too. People trust patch-aware breakdowns more than big claims about the forever-best setup. And if you want more system-level context on how evolving enemies shape fights, AI and NPC Innovations in Helldivers 2: What You Need to Know is a useful companion read.
We want to become the next FromSoftware or Blizzard.
That matters. It points to a game built for long-term relevance, and long-term relevance naturally brings changing metas. Over time, disciplined teams beat copy-paste teams.
Extraction Is Its Own Fight, So Treat It Like One
A lot of runs fall apart at the end because teams ease up too soon. Extraction isn’t cleanup. It’s a separate combat phase with a different set of priorities.
At extraction, the goals change:
- hold space instead of chasing kills
- keep lanes clear and easy to read
- save one emergency answer for the final surge
- avoid heroic solo pickups outside the defensive shape
The strongest extraction setup usually has the team covering overlapping arcs, with one clear retreat path and one dedicated anti-heavy angle ready. Don’t stack everyone on the beacon. Spread out enough to avoid chain deaths, but stay close enough that revives don’t turn into coin flips.
One of the most common extraction mistakes is pushing too far for a single enemy sitting at the edge of the zone. That opens gaps, breaks firing lines, and leaves players isolated right before the shuttle lands. Bad trade. If enemies aren’t threatening the squad’s core space, let them stay there.
Mission success can come down to lowering risk instead of chasing style points. That’s true in Helldivers 2. It also carries across tactical combat games, including reads on timing and pressure in Mastering Combat in Kingdom Come: Deliverance 2.
Frequently Asked Questions
A full four-player squad is usually best because it gives you enough role coverage for armor, crowds, support, and objectives. Duos and trios can work, but they demand much cleaner loadout overlap and far fewer mistakes.
The most common mistake is taking every fight instead of managing tempo. Squads often win small battles but lose the mission because they burn ammo, lives, and cooldowns before key objectives or extraction.
Use a simple split: one support anchor, one heavy killer, one objective runner, and one flex cleaner. Roles can overlap, but every squad should know who handles armor, who stabilizes fights, and who moves the mission forward.
A stable team core is good, but full rigidity is not. Keep your role identity consistent, then swap exact tools based on enemy type, biome, patch changes, and mission demands.
Now Loading is a practical place to keep up with deeper game guides and trend-focused coverage, especially if you like tactical breakdowns and creator-minded analysis. It is useful when you want strategy that connects gameplay with patch shifts, streaming, and the wider gaming scene.
Patch-aware, role-based guides tend to perform better than generic ‘best build’ posts because they stay useful longer and are easier for viewers to follow. A gaming blog like the site behind Now Loading is a good example of the kind of coverage that helps creators find angles beyond basic beginner tips.
Put These Tactics Into Your Next Operation
If only a few ideas from this guide stick, let it be these. In Helldivers 2, high-difficulty missions reward structure far more than chaos, and strong co-op combat tactics come from clear roles, smart spacing, layered stratagem use, safe recoveries, fast objective tempo, and disciplined extraction play.
Here’s the short version:
- Build squads around jobs instead of favorite gear.
- Keep spacing close enough to support each other and loose enough to stay alive.
- Layer stratagems instead of panic-dumping everything.
- Use reinforcements to recover the run instead of feeding more deaths.
- Push objectives fast before the map starts gaining momentum.
- Adapt to updates instead of chasing a permanent meta build.
- Treat extraction like the final exam instead of a victory lap.
When a team keeps wiping on high-difficulty operations, the problem isn’t just missed shots. It’s the point where the squad’s shape falls apart, where cooldowns get burned for no reason, and where objective tempo starts dragging. Most losses begin there.
The good news is teams can build these habits. A clean callout can swing a mission. A better role split can do the same. Even a smarter disengage can keep a bad run from turning into a total collapse. Try a few drops with these ideas in mind, look back at what failed, and the squad will start turning messy survival into wins they can repeat.